It’s been a long time since I’ve played around with my homelab, and since then I’ve swapped out some hardware and switched to using ESXi as the hypervisor for my dedicated home server. As a result, I now need to redeploy a new instance of Kali Linux for my red-team learning, so I figured I’d walk through the process of installing that.
For those unfamiliar, Kali Linux is a Debian-based distribution designed for penetration testing and security research. It comes pre-loaded with hundreds of tools for reconnaissance, exploitation, and forensics.
For starters, I use a VMware ESXi hypervisor to manage my VM fleet for my home server. I might go more in-depth in a future blog post, but I use this server to self-host a media server, file sharing, game servers (Valheim, Minecraft, etc.) as well as some other services. On top of being a great money saver, it also allows you to control your data and customize it as you please.
There are a few ways to install Kali onto a VM, but I opted to go for the installation .iso image. Once I downloaded that, I simply needed to set up a VM in ESXi. Kali isn’t super resource-intensive (outside of cracking hashes), so I went with a 2-core 4 GB VM. Any cracking we do will happen natively on my main PC, which has a 4090 to throw at the problem.
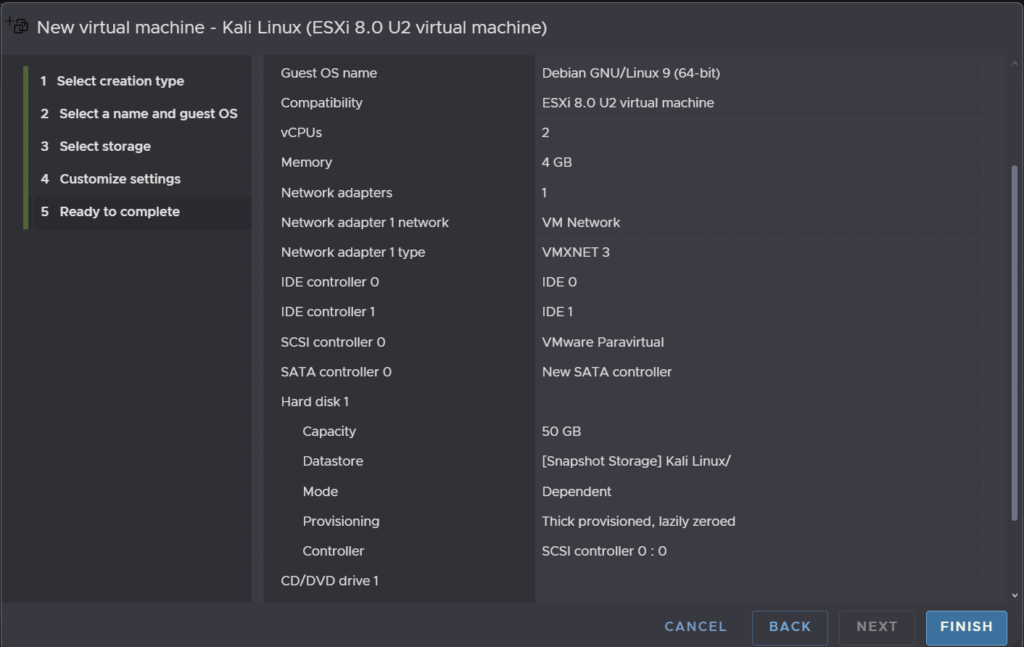
Once the VM was set up, I simply needed to add a virtual CD-ROM drive and attach the .iso to that drive. From there, I was able to boot successfully into the Kali installation screen. From here, we simply follow the standard instructions:

Once the install was complete, it was time for some simple hardening.
Update and Upgrade
sudo apt update && sudo apt upgrade -yFirewall Rules
sudo apt install ufw
sudo ufw default deny incoming
sudo ufw default allow outgoing
sudo ufw allow ssh
sudo ufw allow 80/tcp
sudo ufw enable
sudo ufw status verbose
Install Some Editors
sudo apt install -y gedit neovim nano
sudo dpkg -i Downloads/code.deb  # VSCode install
Install Common Recon Tools
sudo apt install -y dirsearch sublist3r amass assetfinder httprobe ffuf wfuzz dirb feroxbuster eyewitness recon-ng enum4linux wifite
sudo apt install -y peass bat fd-find ripgrep
sudo apt install -y seclists nodejs npm jq massdns
BurpSuite CA Certificate Setup
Finally, we set up our BurpSuite CA certificate so we can use Firefox to proxy traffic through BurpSuite. To do this:
- Open BurpSuite and start the proxy listener (default:
127.0.0.1:8080). - In Firefox, navigate to
http://burpsuite(orhttp://127.0.0.1:8080) and click CA Certificate to download thecacert.derfile. - In Firefox, go to Settings → Privacy & Security → Certificates → View Certificates → Authorities → Import.
- Select the downloaded
cacert.derfile and check “Trust this CA to identify websites.” - Set Firefox’s proxy settings (Settings → Network Settings) to use
127.0.0.1port8080for HTTP and HTTPS.
There are, of course, a plethora of other tools and datasets one could import in preparation for using a Kali instance, but for now this is sufficient for getting started.
Leave a Reply